JoeCustoms.com https://joecustoms.com/forums/ |
|
Modern Figure Knee and Lower Leg Swap Tutorial https://joecustoms.com/forums/viewtopic.php?f=15&t=25123 |
Page 1 of 1 |
Author: | Pugsley [ Mon Aug 23, 2010 4:07 pm ] |
Post subject: | Modern Figure Knee and Lower Leg Swap Tutorial |
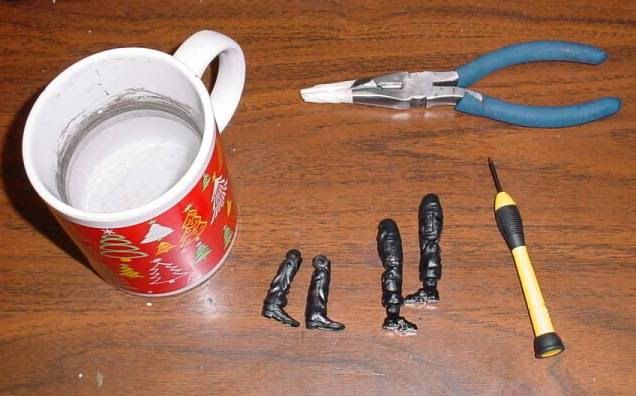
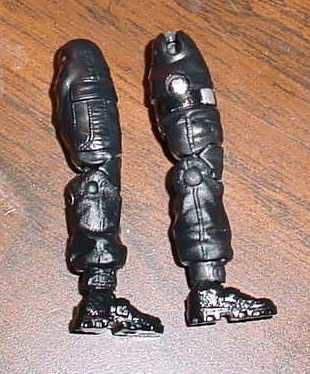
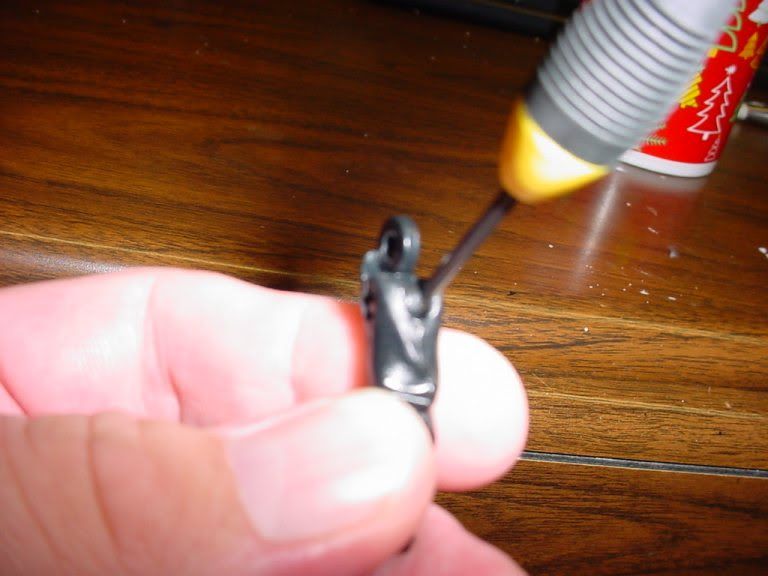
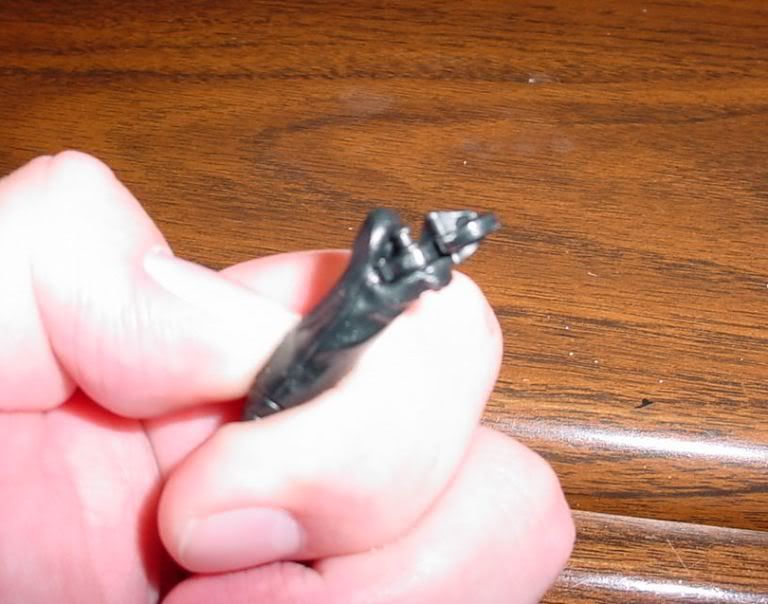
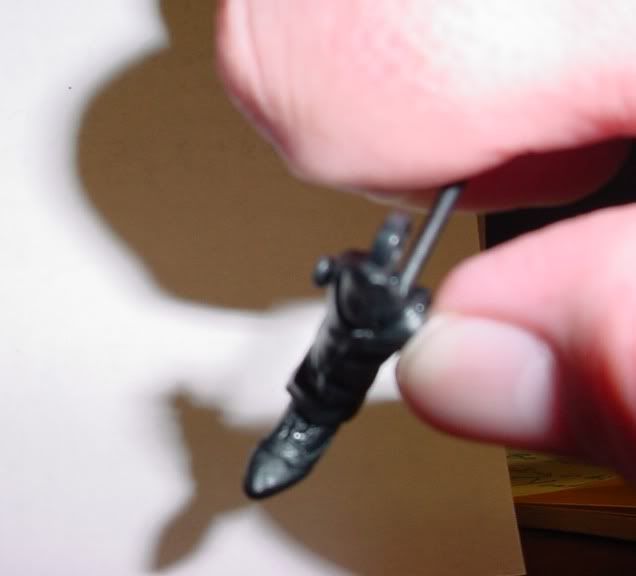
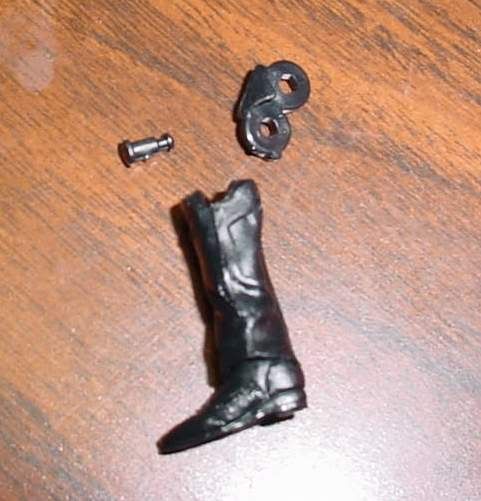
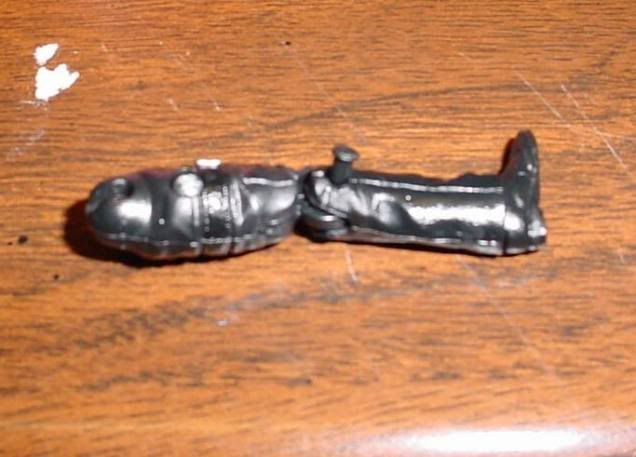
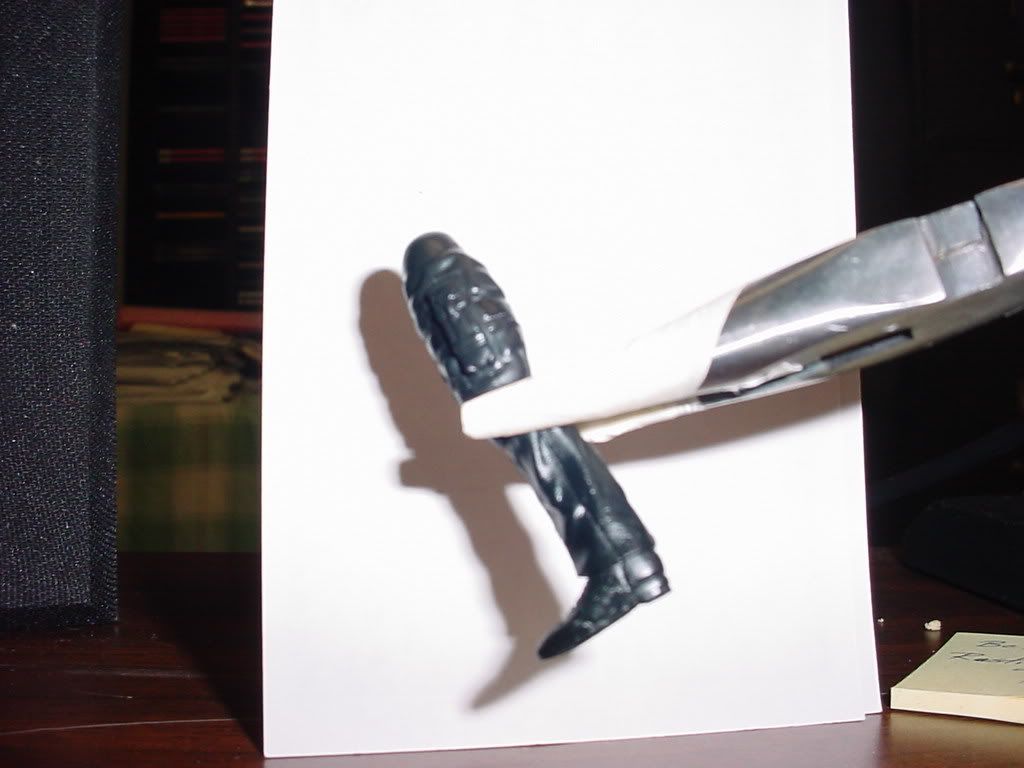
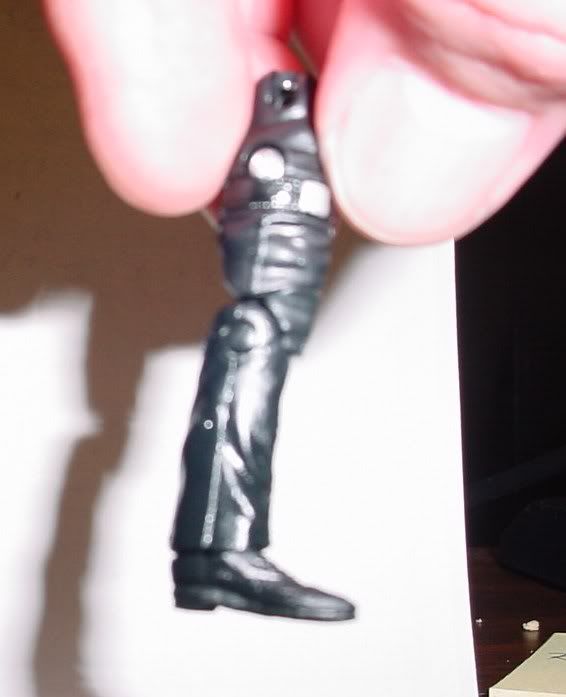
A friend who is new to customizing asked me how to swap the knees on modern figures. He couldn’t seem to find a tutorial for it online. So I checked the Joe Customizing Wikki and realized it wasn’t in there either. Most of us know how to do this, but for someone new to customizing a guide can be a big help. So here is my tutorial for swapping knee joints and lower legs on modern Joe figures. Mods may want to add this to the wiki. Tools needed: 1) The legs you will be working with 2) A cup of very hot water (hot tap water microwaved for a minute and a half) 3) A pair of needle nosed pliers (to prevent the pliers teeth from damaging the legs I have wrapped them in masking tape) 4) A small tipped flat head screwdriver. I use a 2.0mm as anything smaller is more likely to cut or gash the figure parts. Examine the legs: You will notice that the pins that hold the lower legs to the knee and the holes they go in are 2 different sizes. On either leg the smaller hole is to the outside of the leg. Keep this in mind as you’re working. Let’s do this! Step 1: Drop one set of legs at a time in the hot water for 30 seconds to a minute. Don’t leave dark colors in hot water for too long or they will haze. Step 2: Remove the legs from the water, insert the screwdriver between the lower leg and the knee on the outside (small hole) of the leg and pry the leg piece out and over the edge of the pin. It should look like this: Step 3: Use the tip of the screwdriver to push the pin out of the large hole Parts after separating: Step 4: Slide the lower leg onto the knee joint you want it on and place the pin small side first into the large hole. Step 5: Push the pin into the hole as far as you can by hand, then use the pliers to squeeze the parts together and over the lock slots of the pin. Finished! Sorry for the fuzzy pics. I may try to get my wife to retake the pics and I'll repost them.. |
Author: | bcost74 [ Mon Aug 23, 2010 5:43 pm ] |
Post subject: | Re: Modern Figure Knee and Lower Leg Swap Tutorial |
This is a great tutorial that needs to be in the JC Wiki. I have separated knees by shoving a rod into onside and pushing the peg out, your method is much easier and does not appear to damage the peg. Thanks for sharing. |
Author: | ronin [ Fri Sep 03, 2010 5:04 pm ] |
Post subject: | Re: Modern Figure Knee and Lower Leg Swap Tutorial |
Also, keep in mind that you do not even have to use a microwave. Just run hot water from the tap and soak the parts. I also found that you don't even need the pliers. If you soak the parts appropriately, you can slip the flathead right into the side gap of the peg and knee joint and simply slide the piece right out. Was disassembling some Helix legs early last month and that worked great. |
Author: | Pugsley [ Fri Sep 03, 2010 5:19 pm ] |
Post subject: | Re: Modern Figure Knee and Lower Leg Swap Tutorial |
The pliers are for squeezing the legs back over the pegs, not for disassembly. |
Author: | ronin [ Wed Sep 08, 2010 3:04 pm ] |
Post subject: | Re: Modern Figure Knee and Lower Leg Swap Tutorial |
meandnooneelse wrote: The pliers are for squeezing the legs back over the pegs, not for disassembly. Gotcha. I forgot to include that I also soaked the legs and swapped knee joints. Just as before the plastic slid right back into place without the need for pliers. Both methods (with or without pliers) work well so I can definitely vouch for both. |
Author: | Pugsley [ Thu Sep 09, 2010 11:21 am ] |
Post subject: | Re: Modern Figure Knee and Lower Leg Swap Tutorial |
ronin wrote: meandnooneelse wrote: The pliers are for squeezing the legs back over the pegs, not for disassembly. Gotcha. I forgot to include that I also soaked the legs and swapped knee joints. Just as before the plastic slid right back into place without the need for pliers. Both methods (with or without pliers) work well so I can definitely vouch for both. It depends on the legs. I included the pliers because some legs I've had to use them to get the peg all the way through. |
Author: | HypnoHustler [ Thu Sep 09, 2010 12:25 pm ] |
Post subject: | Re: Modern Figure Knee and Lower Leg Swap Tutorial |
Another good tip is to always use the peg the leg comes with, they aren't all the same diameter/length. Also impacting swappability is that the knees vary by a lot, kinda frustrating when I want to do a certain combo and it just won't work without a lot more effort than I have in me. |
Author: | Pugsley [ Thu Sep 09, 2010 12:35 pm ] |
Post subject: | Re: Modern Figure Knee and Lower Leg Swap Tutorial |
HypnoHustler wrote: Another good tip is to always use the peg the leg comes with, they aren't all the same diameter/length. Also impacting swappability is that the knees vary by a lot, kinda frustrating when I want to do a certain combo and it just won't work without a lot more effort than I have in me. That, along with cracking open the modern torsos, are the biggest pain in the butt when it comes to customizing modern Joes in my opinion. |
Author: | Pugsley [ Thu Sep 09, 2010 12:36 pm ] |
Post subject: | Re: Modern Figure Knee and Lower Leg Swap Tutorial |
meandnooneelse wrote: HypnoHustler wrote: Another good tip is to always use the peg the leg comes with, they aren't all the same diameter/length. Also impacting swappability is that the knees vary by a lot, kinda frustrating when I want to do a certain combo and it just won't work without a lot more effort than I have in me. That, along with cracking open the modern torsos, are the biggest pain in the butt when it comes to customizing modern Joes in my opinion. The combo I was trying when I shot the pics for this tutorial didn't work out. |
Page 1 of 1 | All times are UTC - 5 hours [ DST ] |
Powered by phpBB © 2000, 2002, 2005, 2007 phpBB Group http://www.phpbb.com/ |