OK, so you’ve accidentally broken the neck ball off of a figure and you want to repair it… well here’s how I do it.
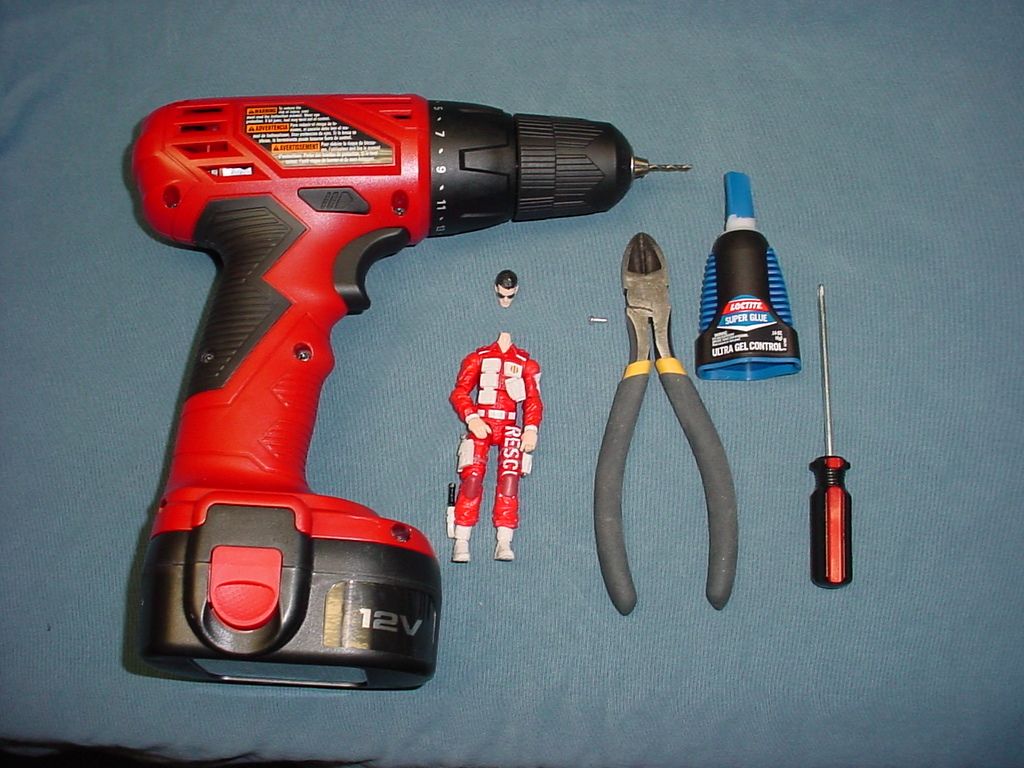
Below are most of the tools you need. I forgot to put needle-nosed pliers in the picture, but you will need them! The screw is about the same size as a leg screw only a little longer. I believe this one came out of a cassette tape. The drill bit is 5/64”
Here is the underside of poor lifeline’s head. As you can see the neck ball is broken off inside:
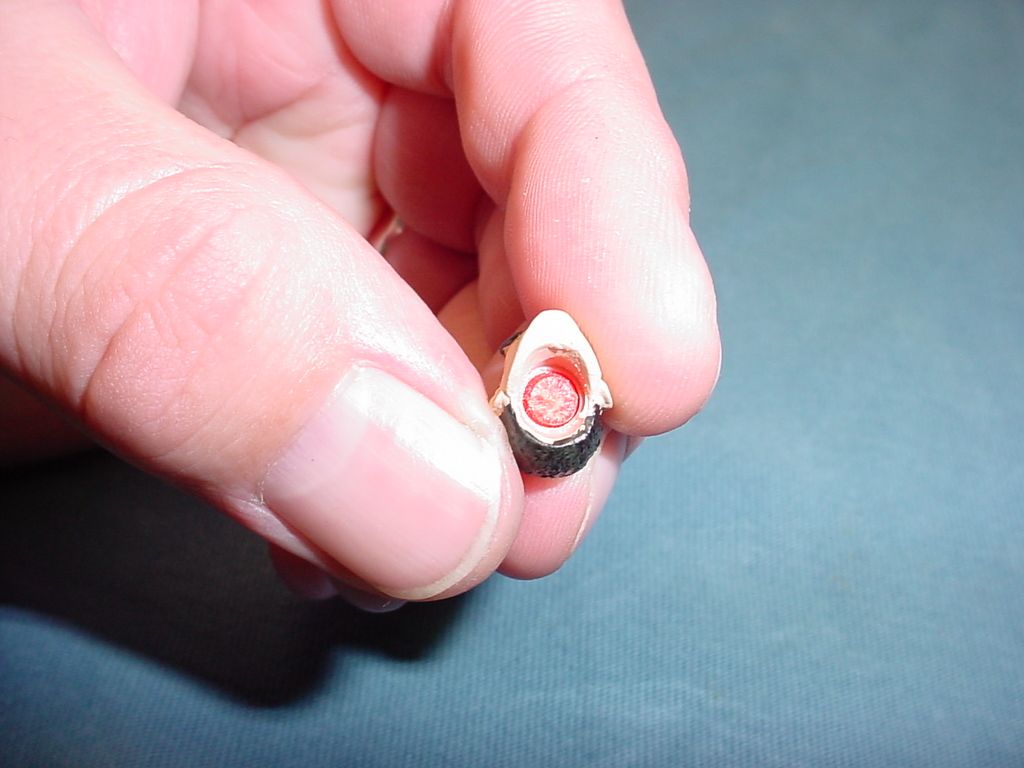
Step One:
Drill a hole in the neck ball about half the depth of the screw. Try to drill the hole in the center of the ball.
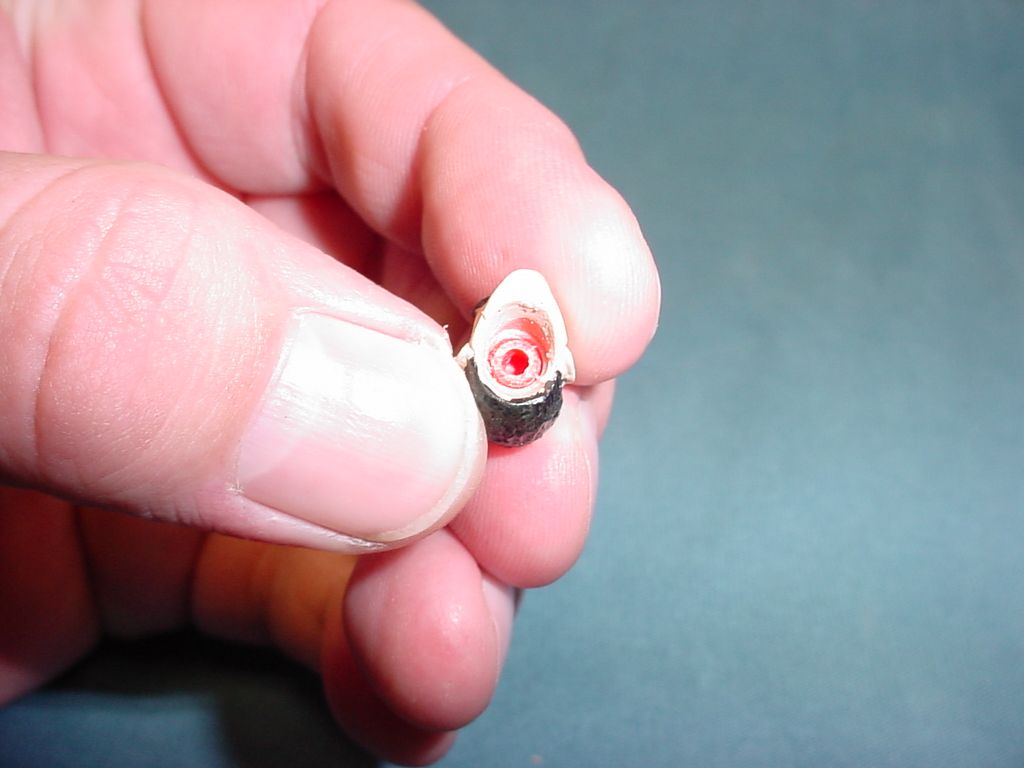
Step Two:
Screw the screw into the neck ball
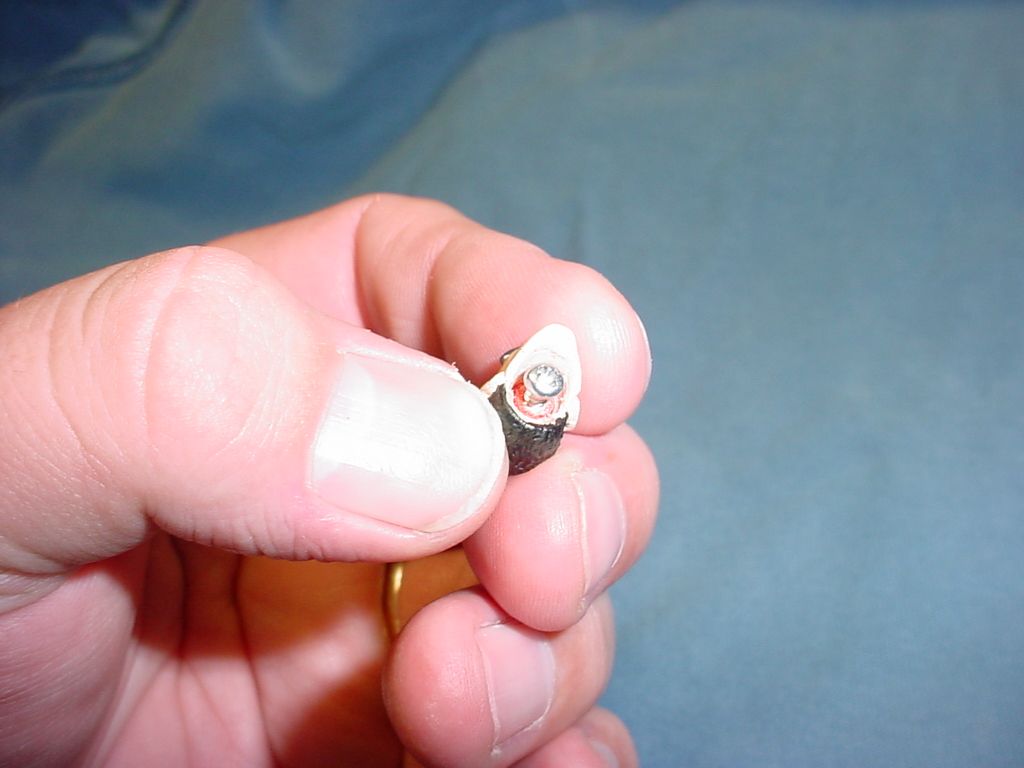
Step Three:
Using needle-nosed pliers to grab the screw and your fingers to hold the head, pull the neck ball out of the head.
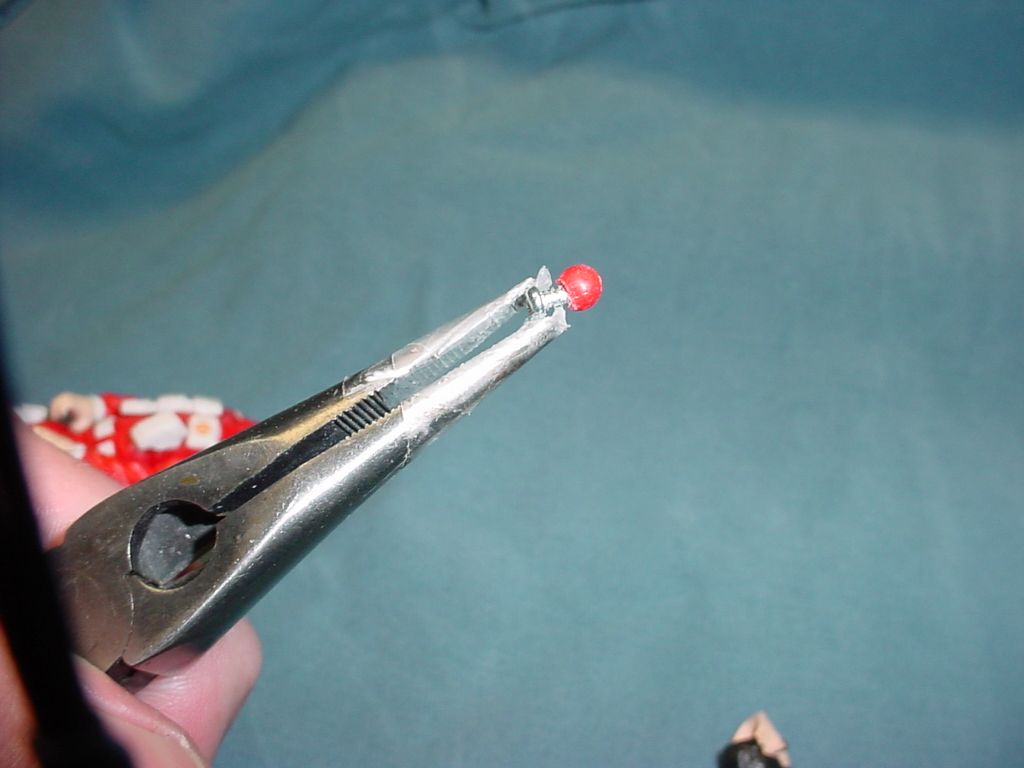
Step Four:
Snip the head off of the screw. Do this with a pair of dikes and cut as close to the head of the screw as possible. You want to leave as much of the threaded shaft as possible.

As you cut the screw head off do it under a cover as pictured below in order to avoid the parts shooting off and being lost.
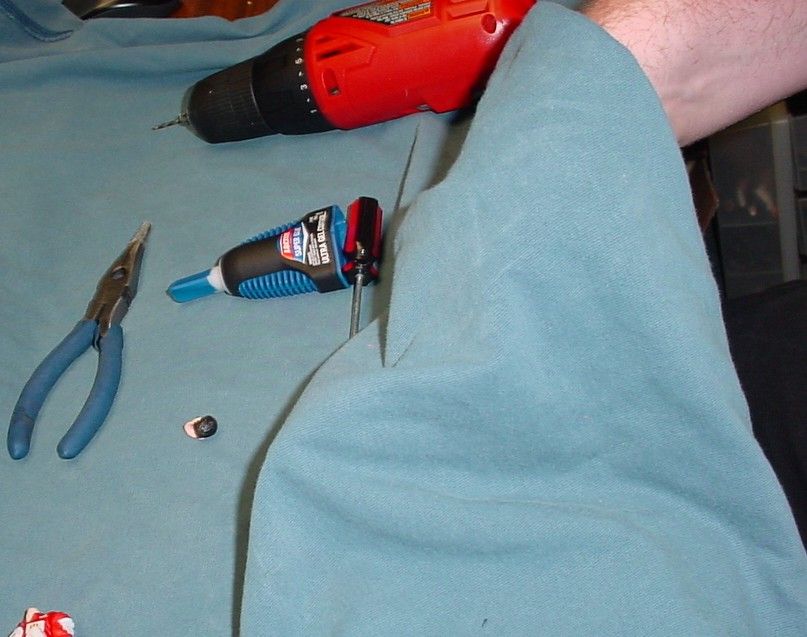
As you can see below, I drilled too deep into the ball and did not leave much of the threaded shaft of the screw exposed, but it is still enough to do the job:
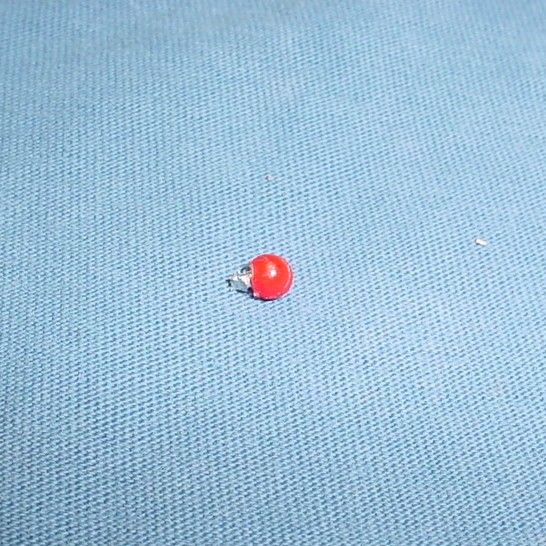
Step whatever number was next:
Drill a hole into the neck. Try to center the hole.
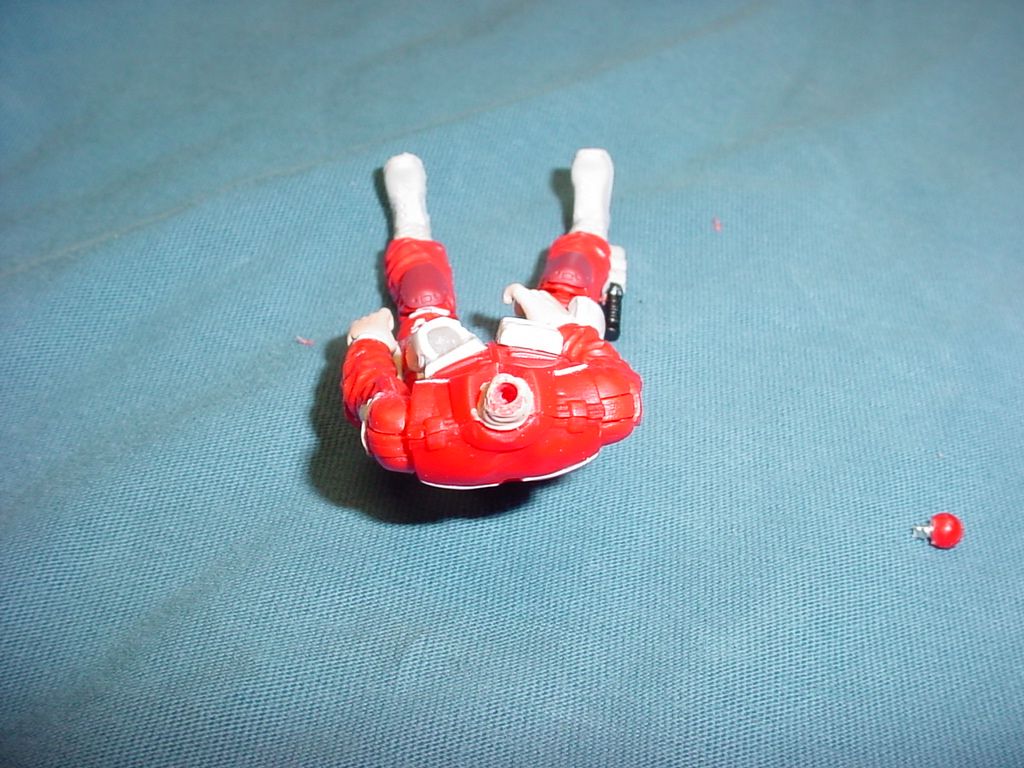
Step six hundred fifty-two:
Put a drop of super glue inside the neck hole

Step Seven:
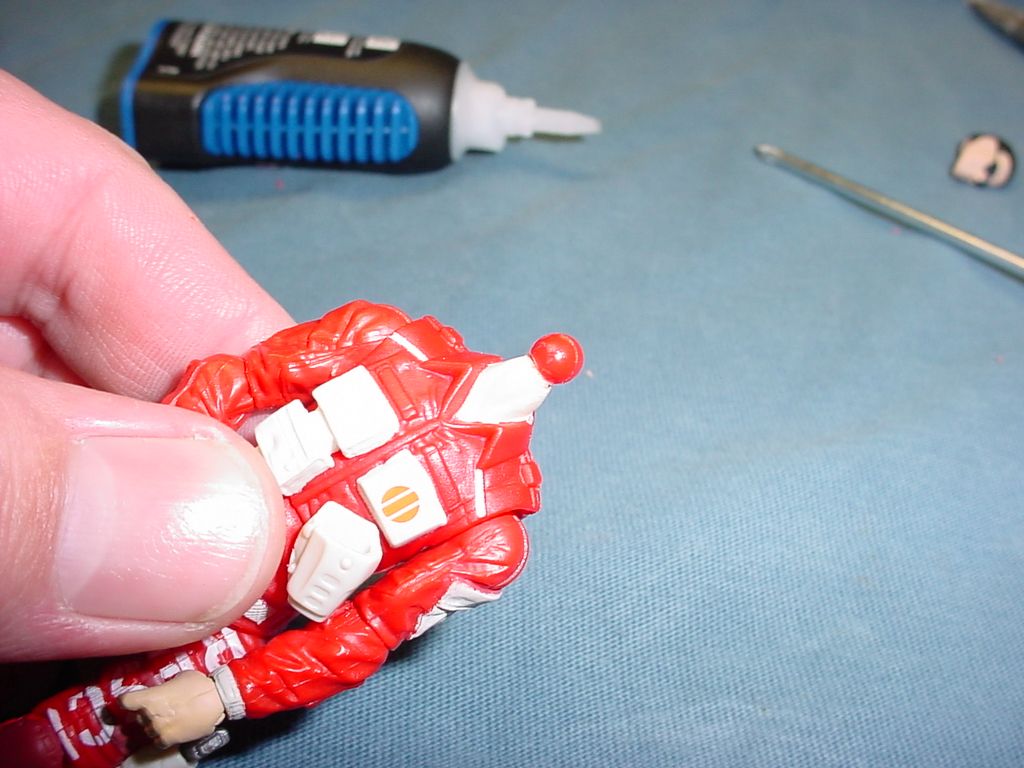
Screw the neck ball into the hole in the neck. Use needle-nosed pliers to makes sure it is tightened down as flush as you can gently and reasonably get it.
Step Eight:
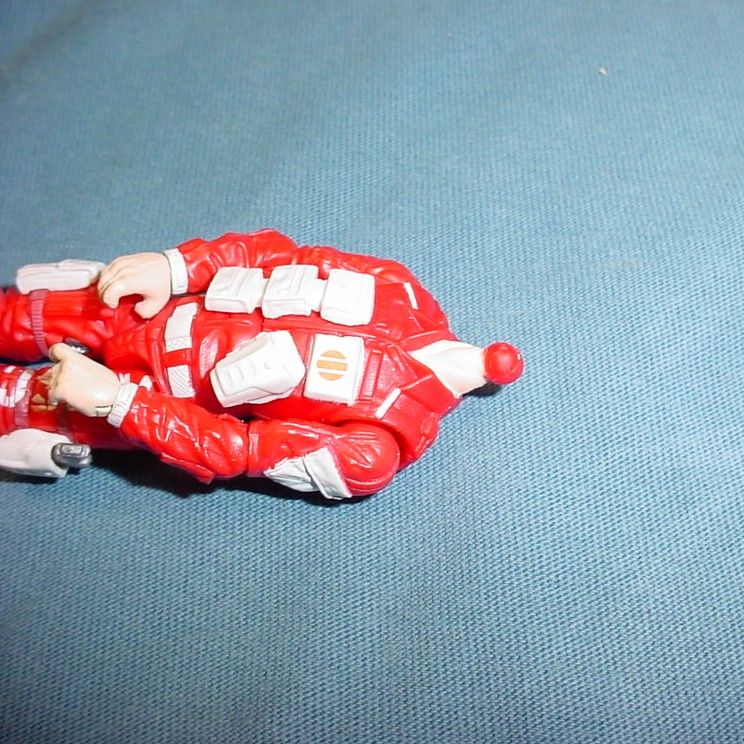
Apply a thin bead of super glue around the neck where the ball makes contact. This is just to seal it up and make sure it does not come loose. Wipe off any excess.
Step Nine:
*IMPORTANT!* Make sure the glue bead is completely dry before you put the head back on!!! Then, well… put the head back on… and tada! Yer done!
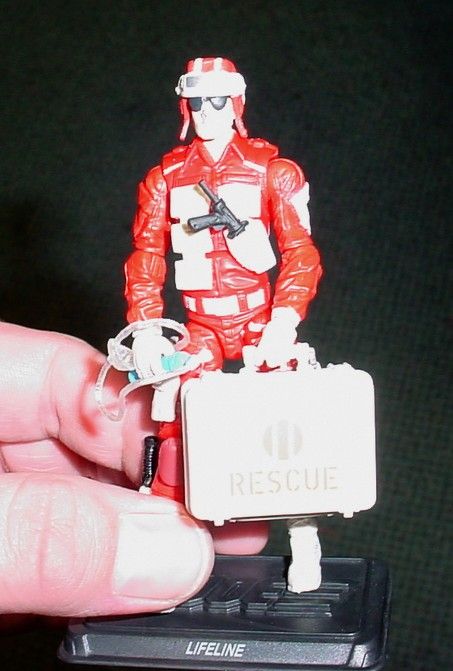
He still has his full range of motion! YAY!!!!

Now quit reading this and go customize something!


